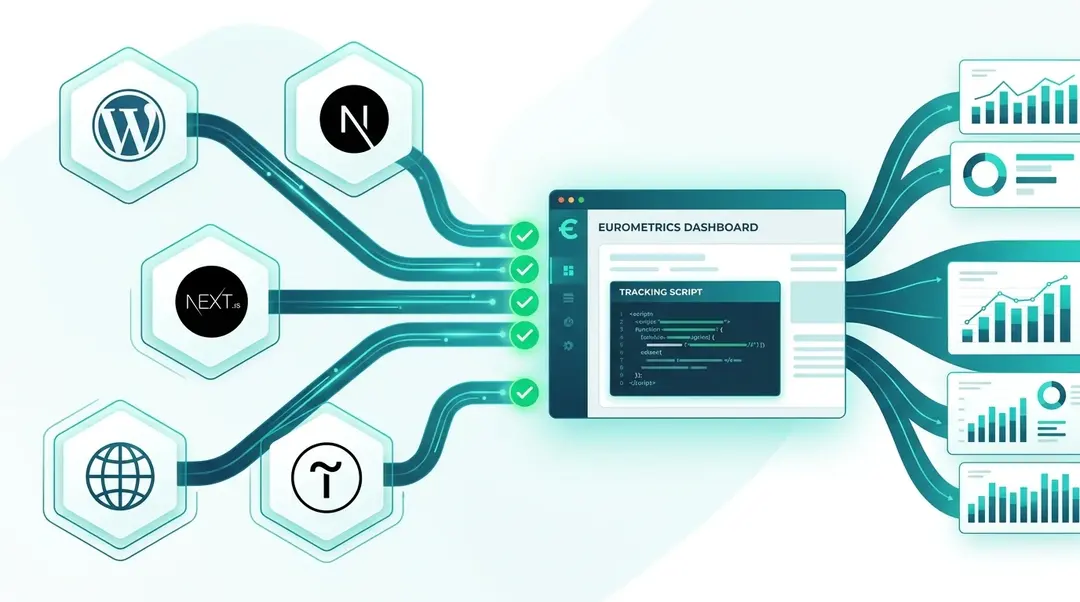
Quick Start
Add the EuroMetrics tracking script to your website in under a minute. Paste the following snippet before the closing </head> tag on every page you want to track:
<script defer src="https://app.eurometrics.eu/script.js"
        data-website-id="YOUR_WEBSITE_ID"></script>
Replace YOUR_WEBSITE_ID with the Website ID from your EuroMetrics dashboard. You can find it under Settings → Websites → Tracking Code.
The script is only 1.5 KB: it loads asynchronously with defer and has zero impact on page performance. No cookies are set and no consent banner is needed.WordPress
EuroMetrics provides an official WordPress plugin for the simplest setup experience. You can also integrate manually if you prefer full control.
Option 1: Official Plugin (Recommended)
- Download the latest release from GitHub (
eurometrics-1.0.0.zip). - In your WordPress admin, go to Plugins → Add New → Upload Plugin. Select the downloaded ZIP file and click Install Now, then Activate.
- Go to Settings → EuroMetrics, paste your Website ID, and save. That’s it. Tracking is now active.
Configuration
- Go to Settings → EuroMetrics.
- The EuroMetrics URL field is pre-filled with
https://app.eurometrics.eu. Change this only if you use a White Label instance. - Enter your Website ID (find it in your EuroMetrics dashboard under Settings → Websites → Tracking Code (UUID format).
- Optionally enable Exclude Admins to prevent your own visits from being tracked when logged in as an administrator.
- Click Save Changes. The status indicator turns green when tracking is active.
Plugin Settings Reference
Setting | Description | Default |
|---|---|---|
EuroMetrics URL | Your analytics instance endpoint |
|
Website ID | Unique site identifier (UUID) | — |
Exclude Admins | Skip tracking for logged-in administrators | Off |
Option 2: Manual Installation
If you prefer not to use the plugin, add the tracking code manually via your theme functions.php file:
function add_eurometrics_tracking() {
    $website_id = 'YOUR_WEBSITE_ID';
    $host = 'https://app.eurometrics.eu';
    echo '<script defer src="' . esc_url($host . '/script.js') . '" data-website-id="' . esc_attr($website_id) . '"></script>';
}
add_action('wp_head', 'add_eurometrics_tracking');
Alternatively, use a plugin like Insert Headers and Footers to paste the script tag into the <head> section without editing theme files.
Option 3: Code Snippets Plugin
If you use a code management plugin like WPCode, Code Snippets, or similar:
- Open the plugin’s settings or snippet manager.
- Add a new snippet to the Site-Wide Header section.
- Paste the tracking script and replace
YOUR_WEBSITE_IDwith your actual Website ID. - Save and activate the snippet.
Verifying Your Installation
- Check the script injection: Open your site in an incognito window, right-click → View Page Source, and search for
eurometrics. - Check network requests: Open Developer Tools (F12) → Network tab, reload the page, and filter by
script.js. - Check your dashboard: Log in to EuroMetrics, navigate to your website. Your page view should appear within seconds.
Troubleshooting
Issue | Solution |
|---|---|
Script not appearing in source | Plugin not activated or Website ID empty. Check Settings → EuroMetrics. |
Script loads but no data in dashboard | Wrong Website ID. Compare the ID in plugin settings with your EuroMetrics dashboard. |
Script blocked by browser | Ad blocker or privacy extension active. Disable for your domain. |
404 on script.js | Wrong EuroMetrics URL. Verify it points to a running instance. |
Admin visits still tracked | Enable Exclude Admins checkbox, then clear any page cache. |
Script loads twice | Plugin and manual code both active. Use one method only. |
Advanced: WordPress Multisite
The EuroMetrics plugin works on WordPress Multisite installations. Network Activate the plugin, then visit Settings → EuroMetrics on each sub-site and enter the corresponding Website ID.
Advanced: Caching Compatibility
The tracking script is compatible with all major WordPress caching plugins: WP Super Cache, W3 Total Cache, LiteSpeed Cache (no special configuration needed), WP Rocket (ensure the script is not in the “Delay JavaScript Execution” list), and Cloudflare (exclude script.js from Rocket Loader).
Advanced: WooCommerce
EuroMetrics works with WooCommerce out of the box. Page views for product pages, category pages, cart, checkout, and order confirmation are tracked automatically.
Next.js
Use the built-in next/script component for optimal loading. Add it to your root layout so it loads on every page:
// app/layout.tsx
import Script from "next/script"

export default function RootLayout({
  children,
}: {
  children: React.ReactNode
}) {
  return (
    <html lang="en">
      <body>
        {children}
        <Script
          src="https://app.eurometrics.eu/script.js"
          data-website-id="YOUR_WEBSITE_ID"
          strategy="afterInteractive"
        />
      </body>
    </html>
  )
}
The afterInteractive strategy ensures the script loads after the page becomes interactive, similar to defer in plain HTML.
Pages Router? If you use the Pages Router instead of the App Router, add theScriptcomponent to_app.tsxinstead oflayout.tsx.
Tilda
Tilda lets you add custom HTML to the <head> of your site:
- Open your Tilda project and go to Site Settings.
- Click the More tab, then find HTML code for <head> section.
- Paste the tracking script.
- Click Save and Publish your site. Data will start appearing in your dashboard within a few minutes.
General Recommendations
Content Security Policy (CSP)
If your site uses a Content Security Policy, add the following directives:
Content-Security-Policy:
  script-src 'self' https://app.eurometrics.eu;
  connect-src 'self' https://app.eurometrics.eu;
Single-Page Applications
EuroMetrics automatically detects client-side navigation in SPAs built with React, Vue, Svelte, and other frameworks. The script listens for pushState and replaceState changes, so no extra configuration is needed.
Custom Event Tracking
Beyond pageviews, you can track custom events like button clicks, form submissions, or purchases:
// Track a custom event
umami.track("signup_click", {
  plan: "pro",
  source: "pricing_page",
})
Events appear in your dashboard under Events and can be used to build funnels and conversion goals.
Need help? Reach out to us at support@eurometrics.eu.