Add Your First Website
Adding a website to EuroMetrics takes about 30 seconds. Once it’s set up, you’ll start seeing visitor data within minutes.
Step 1: Create the Website
Go to Websites in the sidebar and click the Add Website button in the top-right corner.
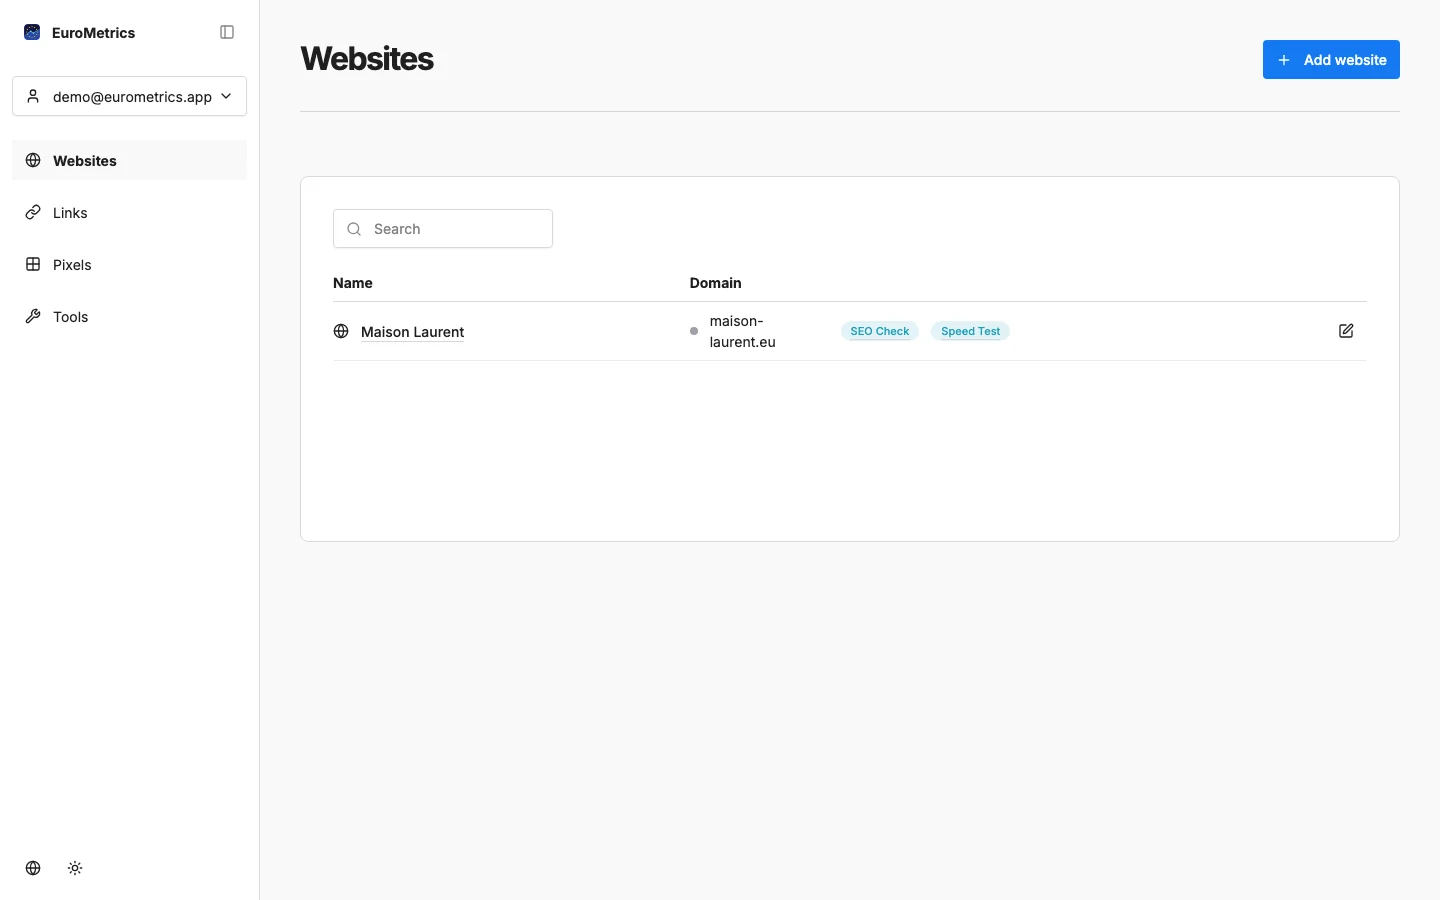
You’ll see a simple form with two fields:
- Name: A friendly label for your site (e.g., “My Blog” or “Company Website”)
- Domain: Your website’s domain without
https://(e.g.,example.comorshop.example.com)
Click Save, and your website is created. You’ll see it appear in the list right away.
Step 2: Get Your Tracking Code
Click on your newly created website, then go to Settings (the gear icon). You’ll find the Tracking Code section with a ready-to-copy snippet:
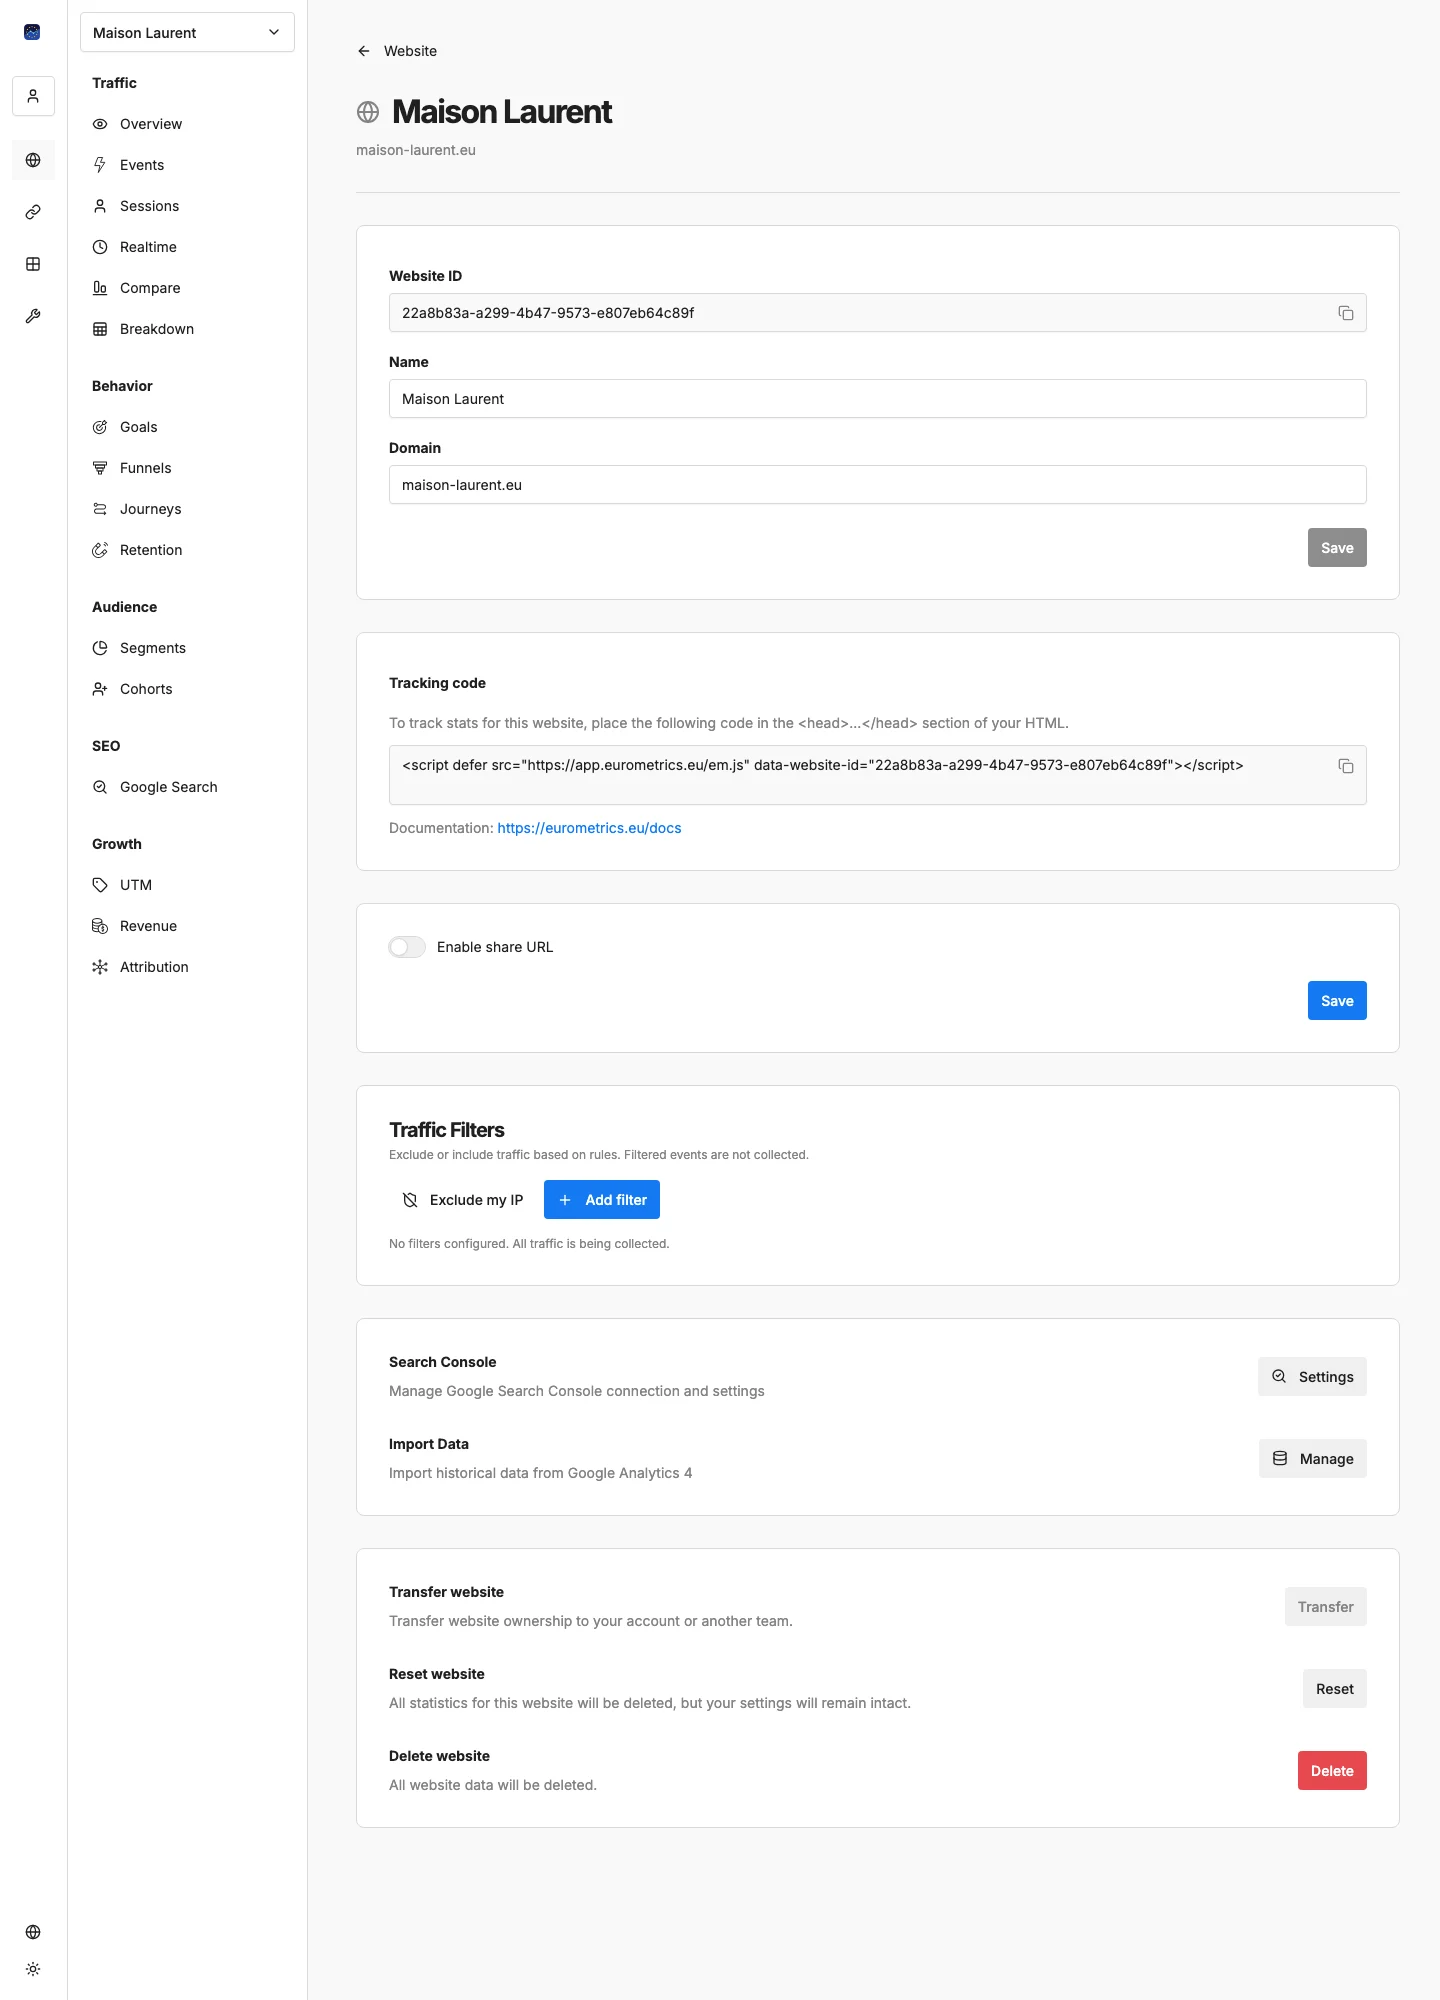
The tracking code looks like this:
<script defer src="https://app.eurometrics.eu/script.js" data-website-id="your-website-id"></script>Click the copy button next to the code to copy it to your clipboard.
Step 3: Install the Tracking Code
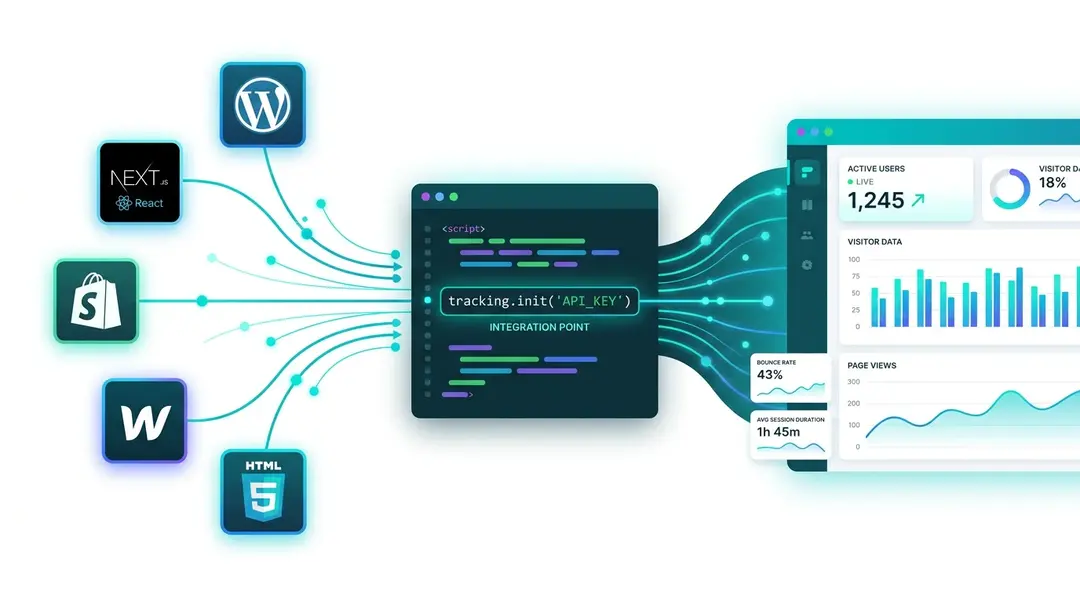
Paste the tracking code into the <head> section of your website’s HTML, on every page you want to track. Here’s how to do it on popular platforms:
Plain HTML
Open your HTML file and paste the code before the closing </head> tag:
<html>
<head>
  <title>My Website</title>
  <!-- EuroMetrics Analytics -->
  <script defer src="https://app.eurometrics.eu/script.js" data-website-id="your-website-id"></script>
</head>
<body>
  ...
</body>
</html>
WordPress
Use a plugin like Insert Headers and Footers or add the code to your theme’s header.php file. Alternatively, paste it in Appearance → Customize → Additional Scripts if your theme supports it.
Next.js / React
Add the script to your app/layout.tsx or pages/_document.tsx:
import Script from 'next/script';

export default function RootLayout({ children }) {
  return (
    <html>
      <head>
        <Script
          defer
          src="https://app.eurometrics.eu/script.js"
          data-website-id="your-website-id"
        />
      </head>
      <body>{children}</body>
    </html>
  );
}
Shopify
Go to Online Store → Themes → Edit Code, open theme.liquid, and paste the tracking code just before </head>.
Webflow
Go to Project Settings → Custom Code and paste the tracking code in the Head Code section.
Step 4: Verify It’s Working
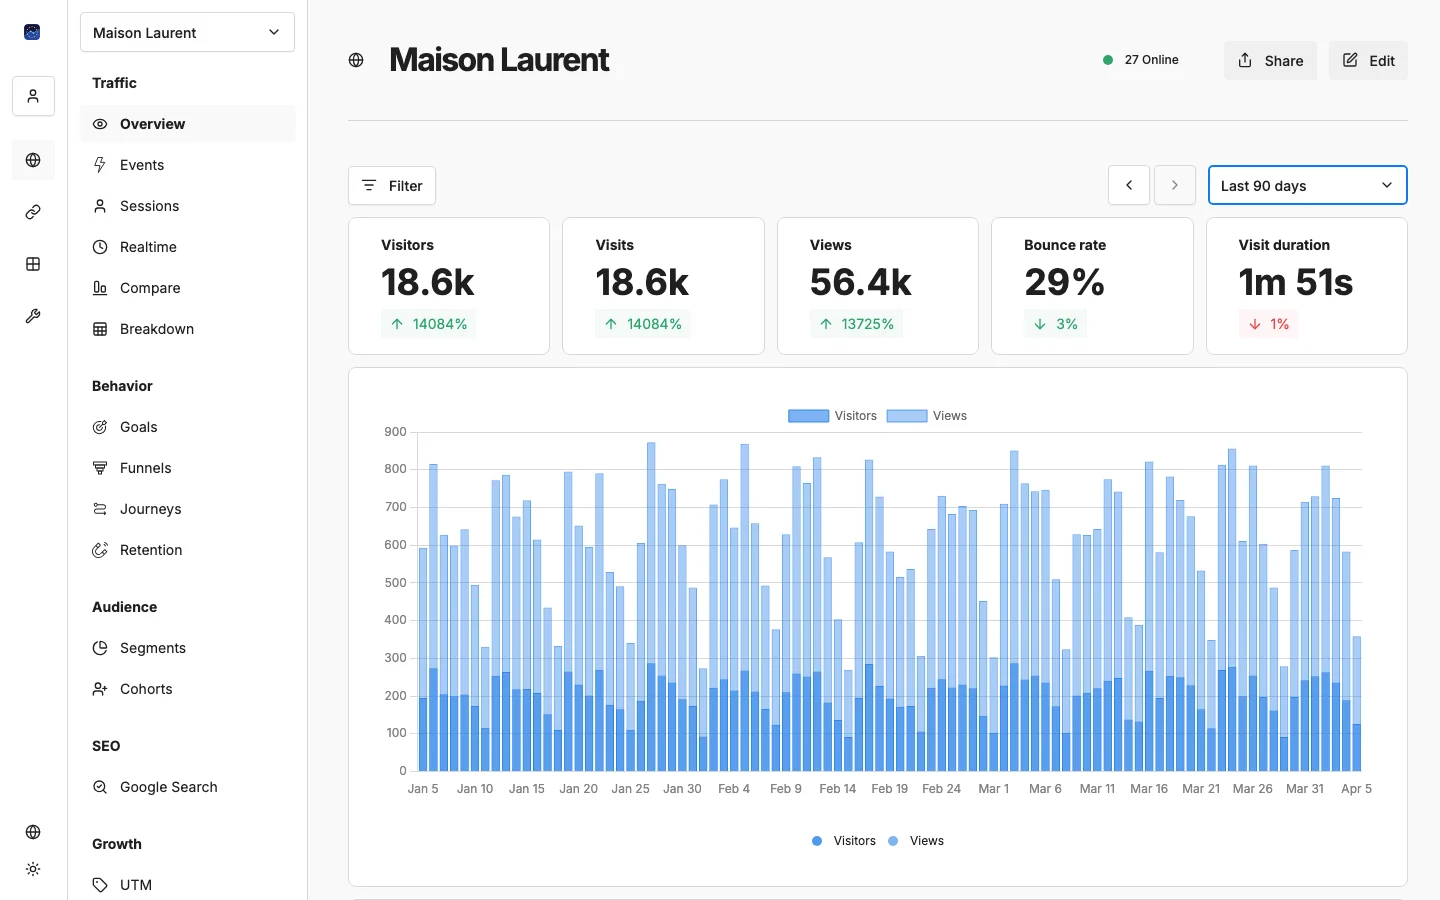
After installing the code, visit your website in a browser and then go back to EuroMetrics. Within a few seconds, you should see:
- The active users counter showing “1” in the website header
- Your visit appearing in the Realtime tab
- Page views starting to populate in the Overview dashboard
Tip: Use the Test Console for a more thorough verification. Navigate to your website in EuroMetrics and open the console to test page views, custom events, and revenue tracking in real time.
Advanced: Anti-Adblock Setup
Some ad blockers may block analytics scripts. EuroMetrics supports custom script names to work around this:
Instead of the default script.js, you can configure your tracker to use a custom filename (e.g., em.js) and a custom collection endpoint (e.g., /api/collect). This is configured on the server side, so contact support if you’d like to set this up.
Managing Your Website
In the Settings tab, you’ll also find:
- Website ID: Your unique identifier, useful for API integrations
- Share URL: Generate a public link to share your analytics dashboard with anyone (no login required)
- Traffic Filters: Exclude your own visits by IP, filter out specific URL paths, or block referrer spam
- Search Console: Connect Google Search Console for SEO data
- Data Import: Import historical data from Google Analytics 4
- Transfer: Move a website between personal and team ownership
- Reset Data: Clear all collected analytics data and start fresh
- Delete: Permanently remove the website
Quick Tip: Exclude Your Own Visits
Don’t want your own visits skewing the data? Go to Settings → Traffic Filters and click Exclude My IP. One click and your visits are filtered out automatically.
What’s Next?
Your website is now tracking visitors! Let’s explore what data you can see:
→ Understanding Your Analytics Dashboard
Need help? Reach out to us at support@eurometrics.eu.